This week we learned about ISO and how it interacts with Aperture and Shutter Speed, and how to use the three together to achieve the desired exposure.
This week our tasks were to shoot different scenes at different ISOs and compare the shots. We had to decide what the highest ISO was that still produced an acceptable image (low noise or grain), and then repeat the activity in low light at the same ISO settings.
ISO Test
For my first set of images, I shot in Aperture priority mode and changed my ISO each time. Because I was in Aperture priority mode my aperture stayed the same, but each time I put the ISO up, my shutter speed changed to a faster shutter speed to compensate for the extra sensitivity in the camera sensor (which makes the image brighter).
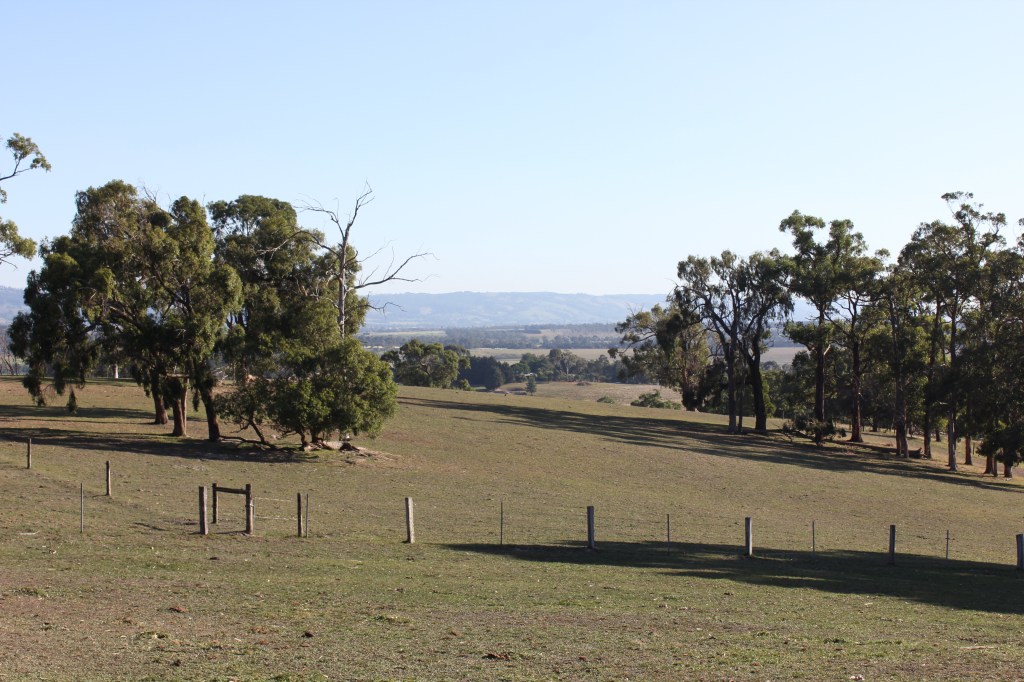
1/125 sec, f\9, ISO 100 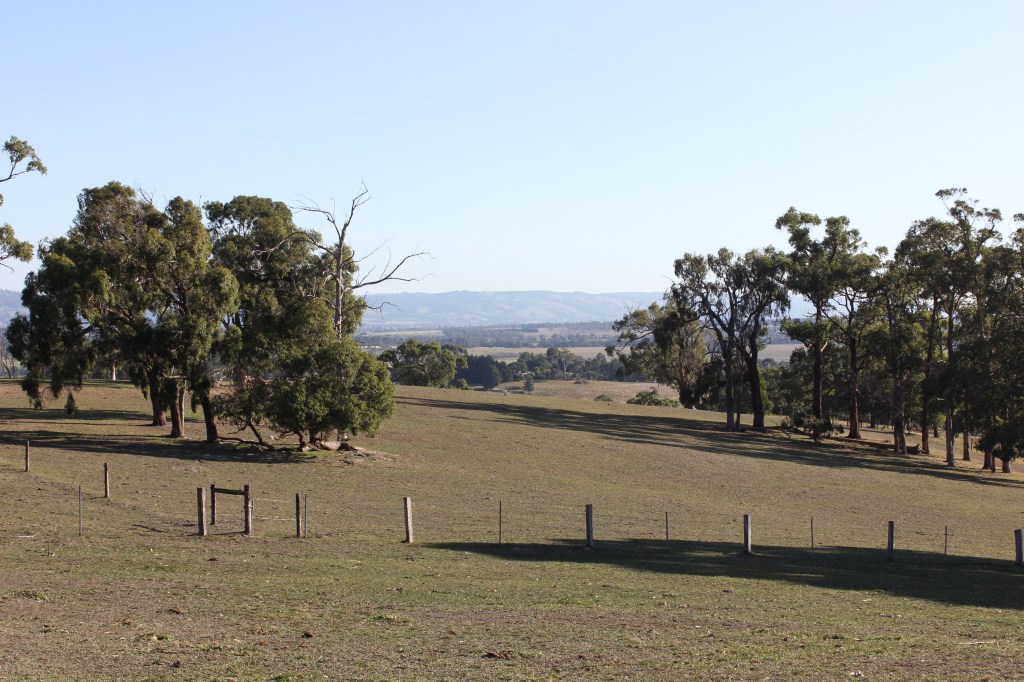
1/250 sec, f\9, ISO 200 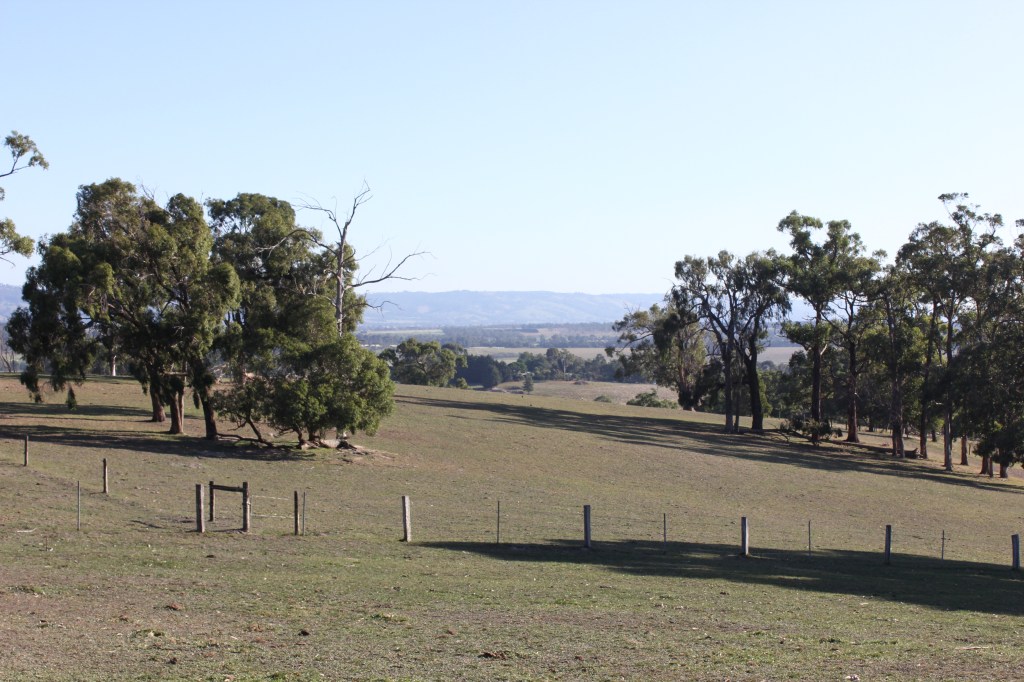
1\400 sec, f\9, ISO 400 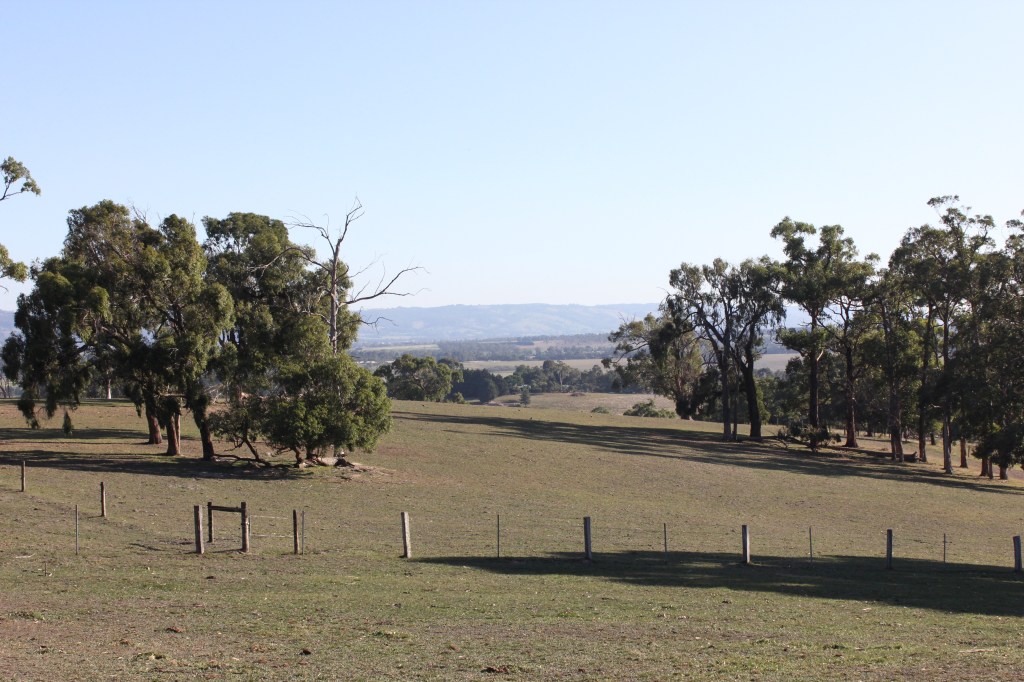
1/1000 sec, f\9, ISO 800 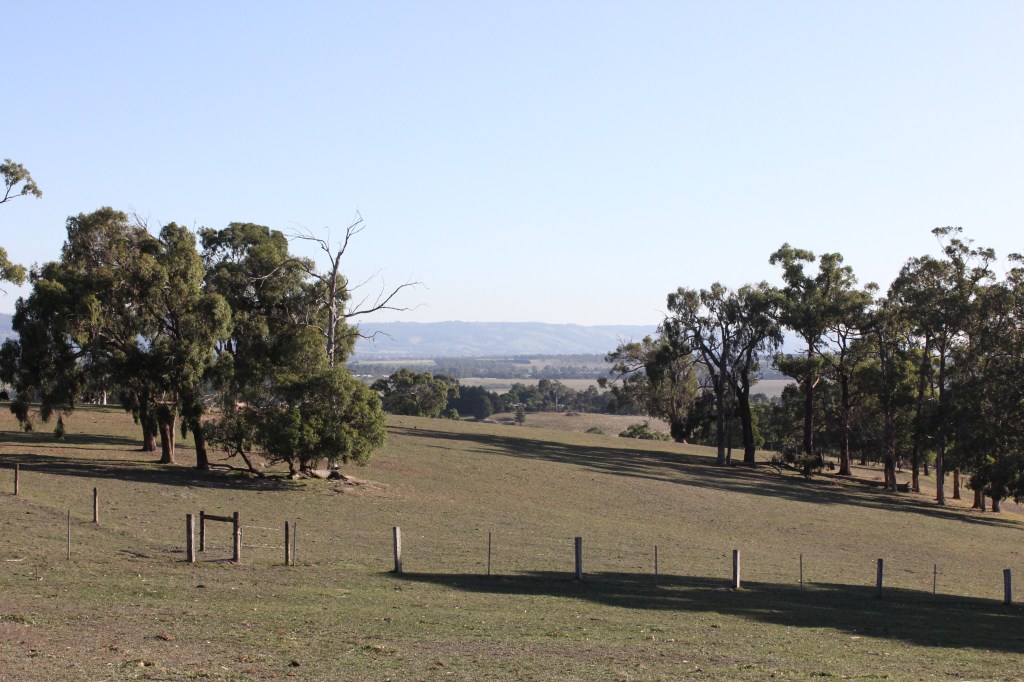
1/2000 sec, f\9, ISO 1600 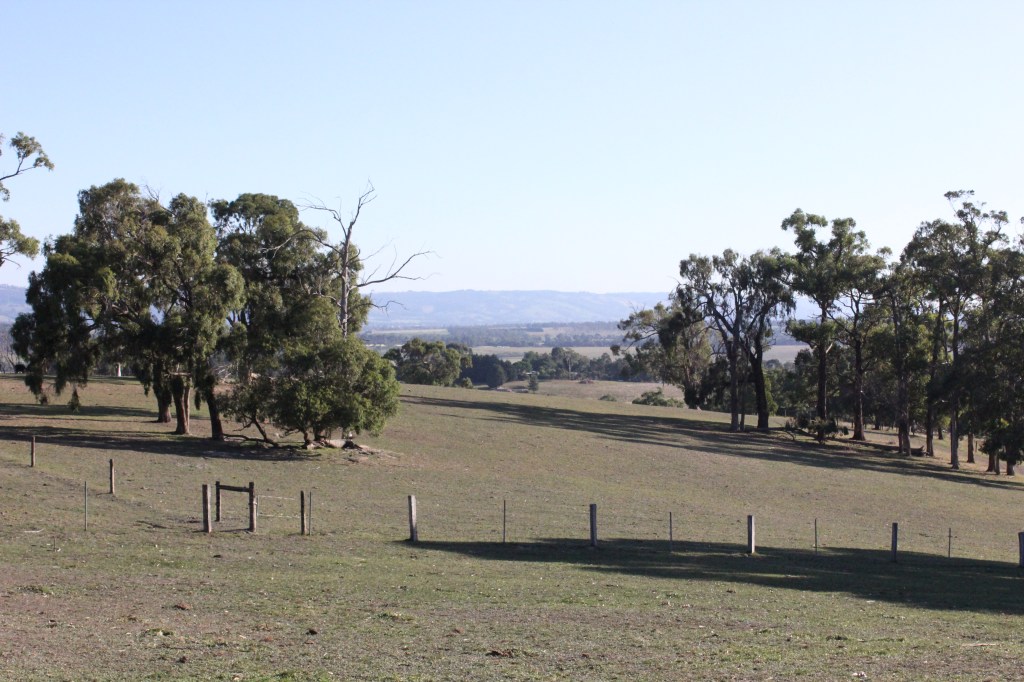
1/4000 sec, f\9, ISO 3200 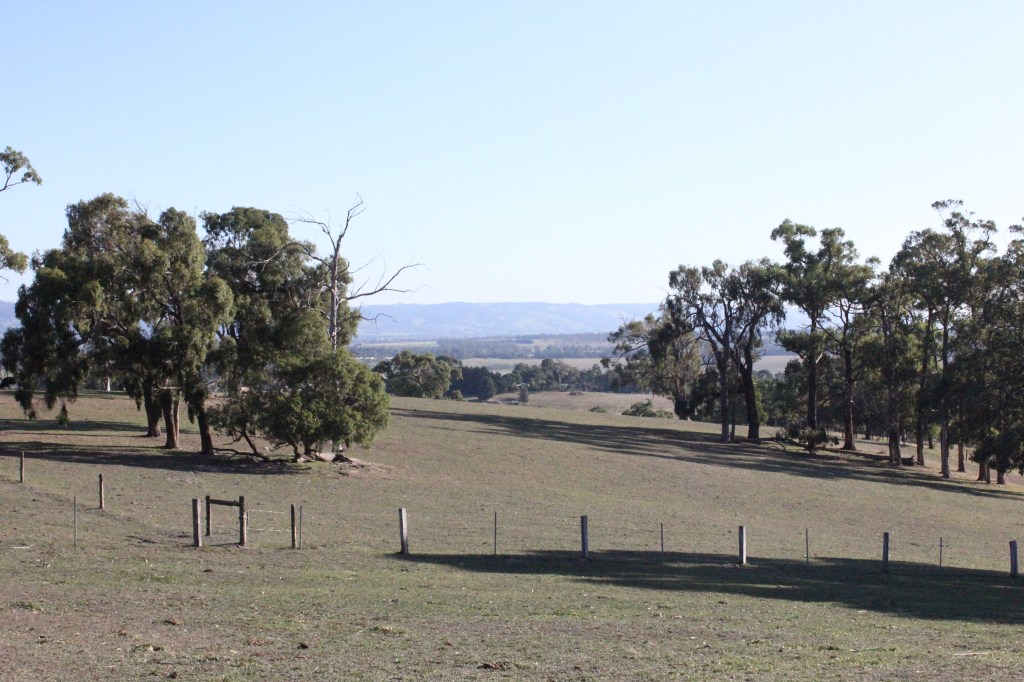
1/8000 sec, f\9, ISO 6400
1/200 sec, f\4.5, ISO 100 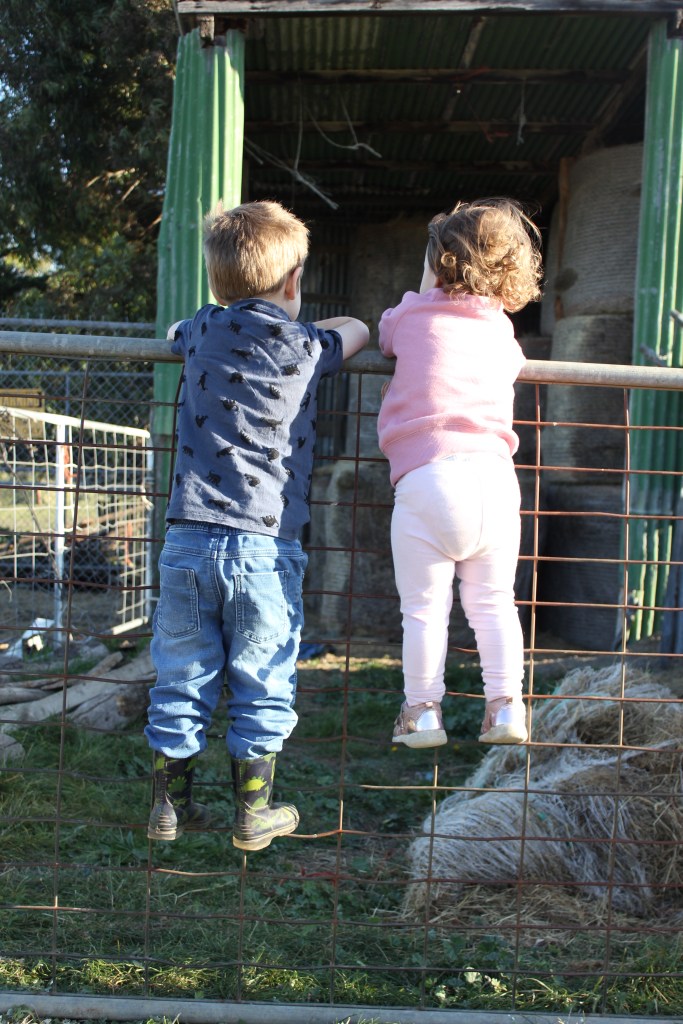
1\320 sec, f\4.5, ISO 200 
1/1000 sec, f\4.5, ISO 400 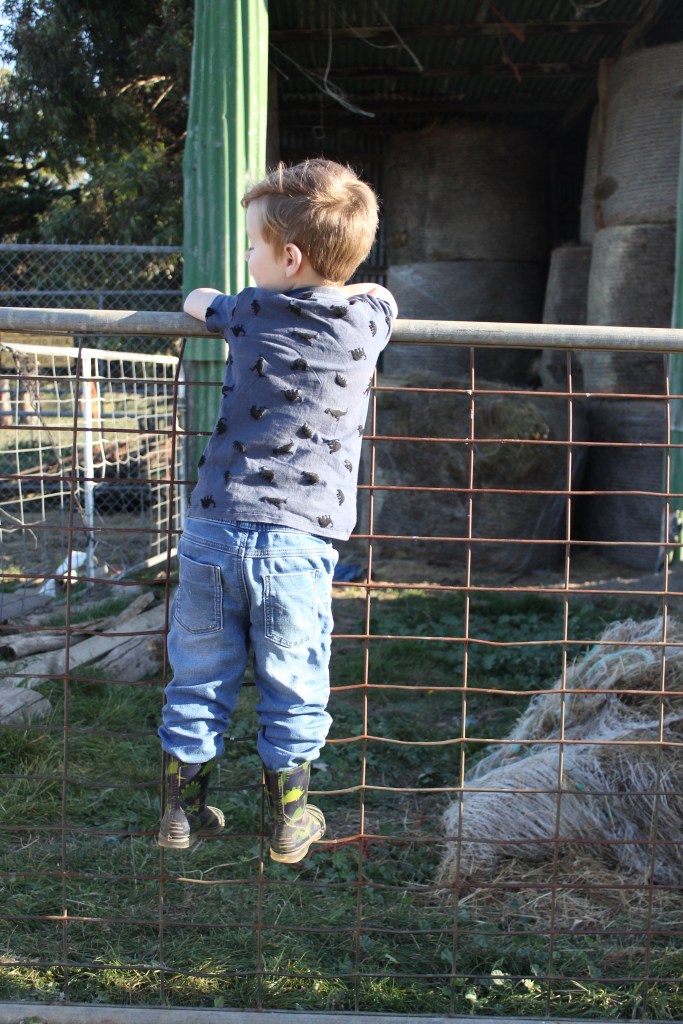
1/1250 sec, f\4.5, ISO 800 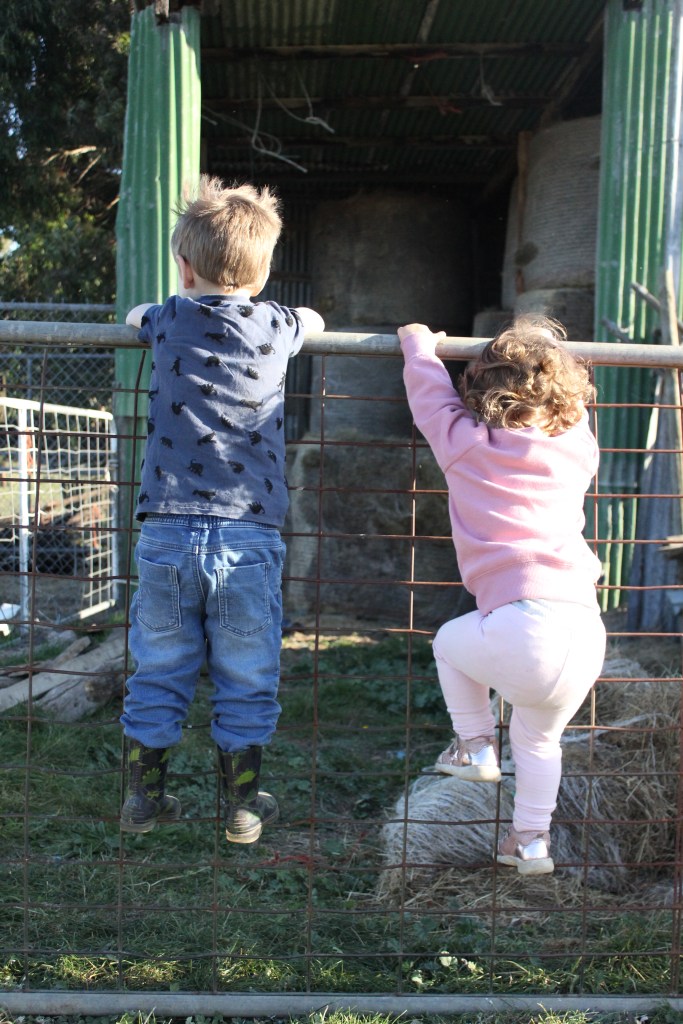
1/2500 sec, f\4.5, ISO 1600 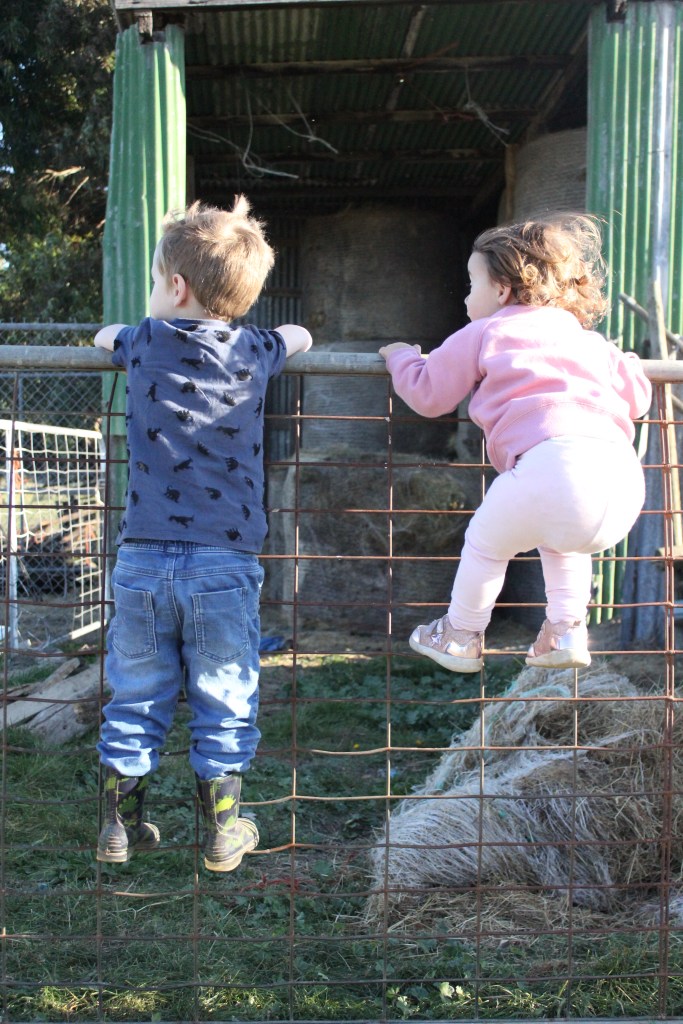
1/4000 sec, f\4.5, ISO 3200 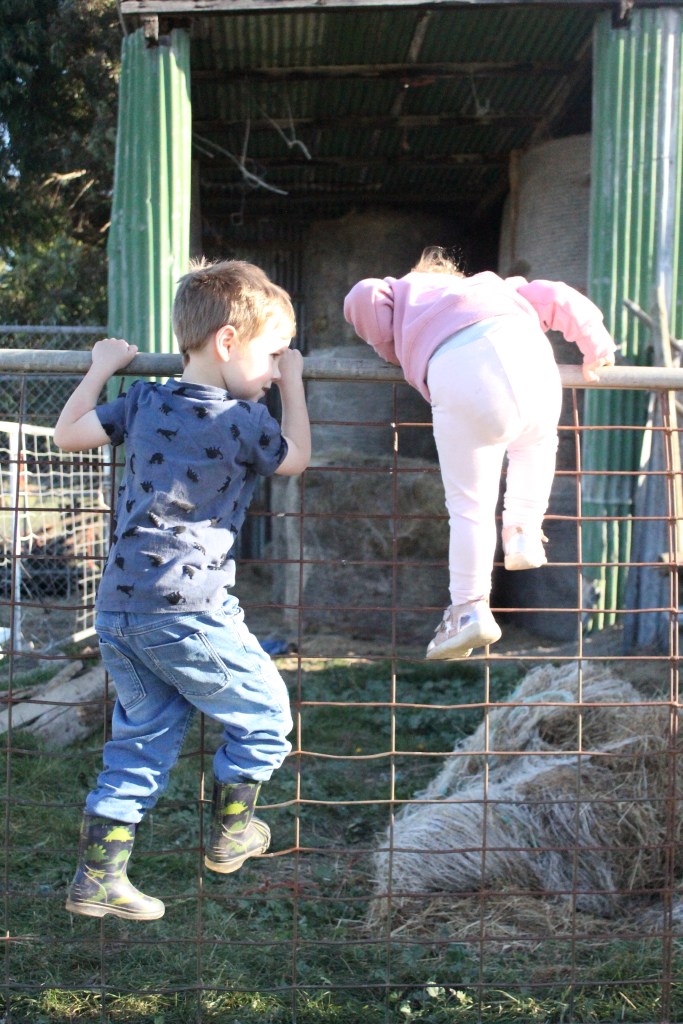
1/8000 sec, f\4.5, ISO 6400
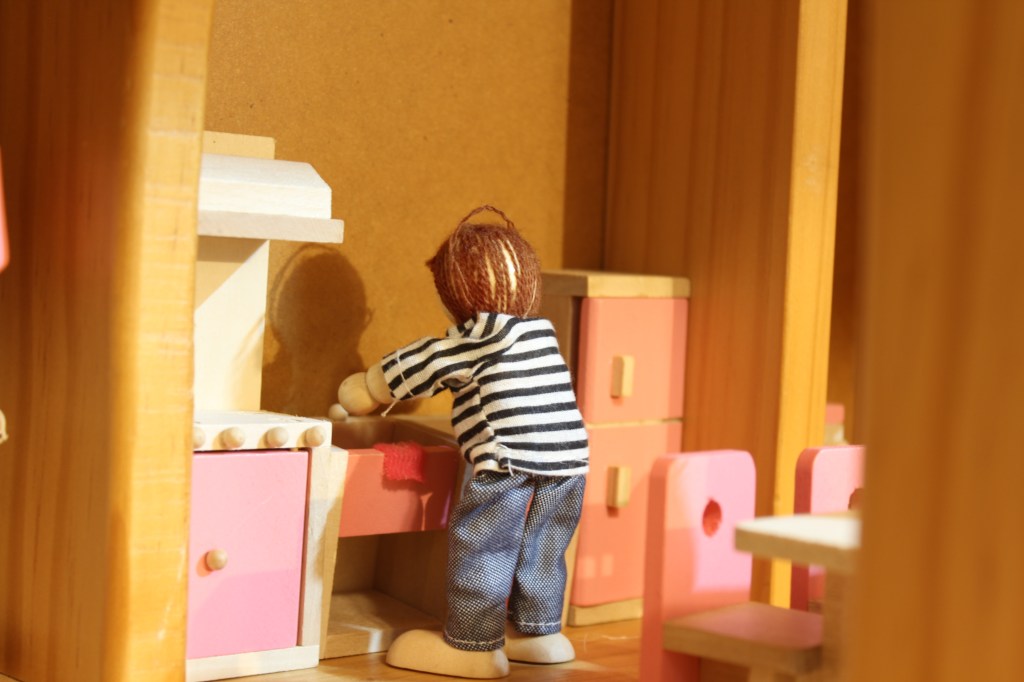
As my images go over ISO 800 the noise is evident in the mid tones. Although I think the ISO 800 images are still acceptable.

1/1000 sec, f\4, ISO 100 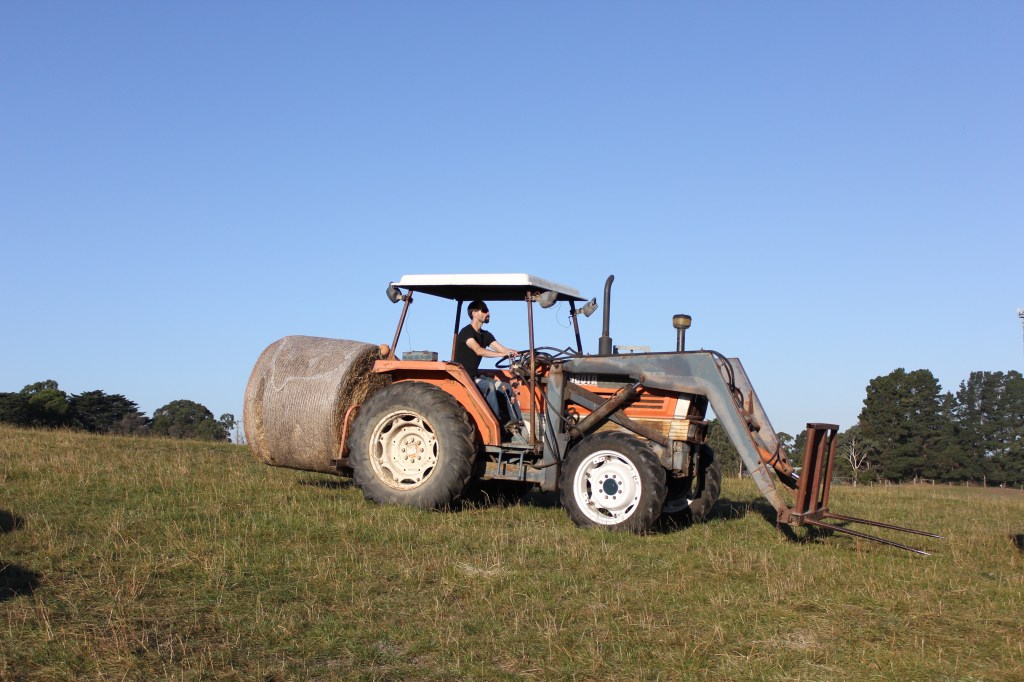
1\2000 sec, f\4, ISO 200 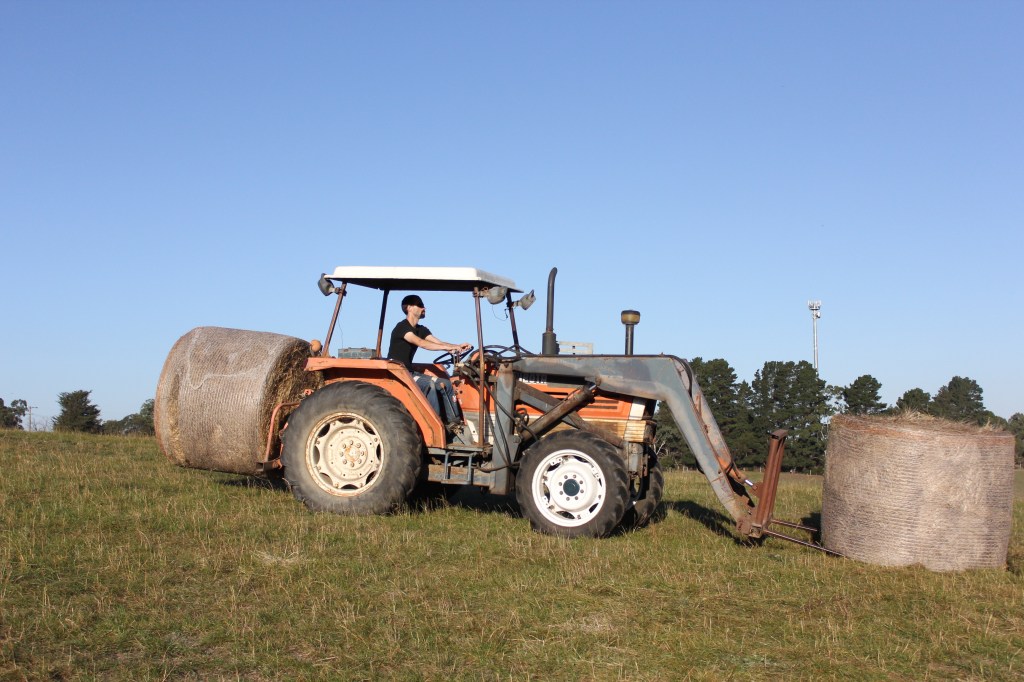
1\4000 sec, f\4, ISO 400 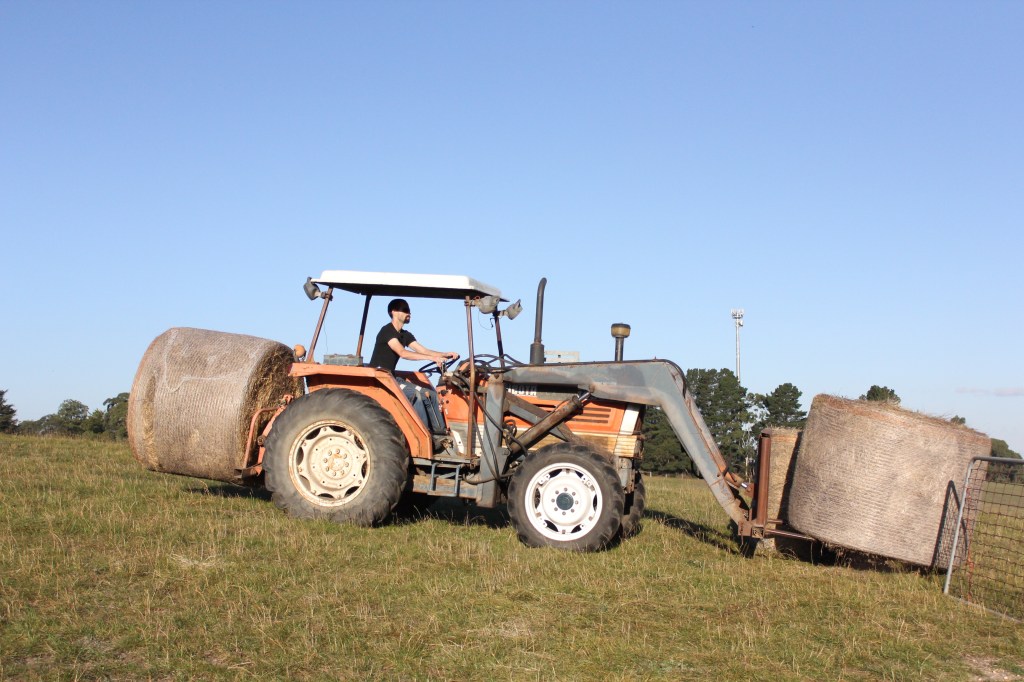
1\8000 sec, f\4, ISO 800 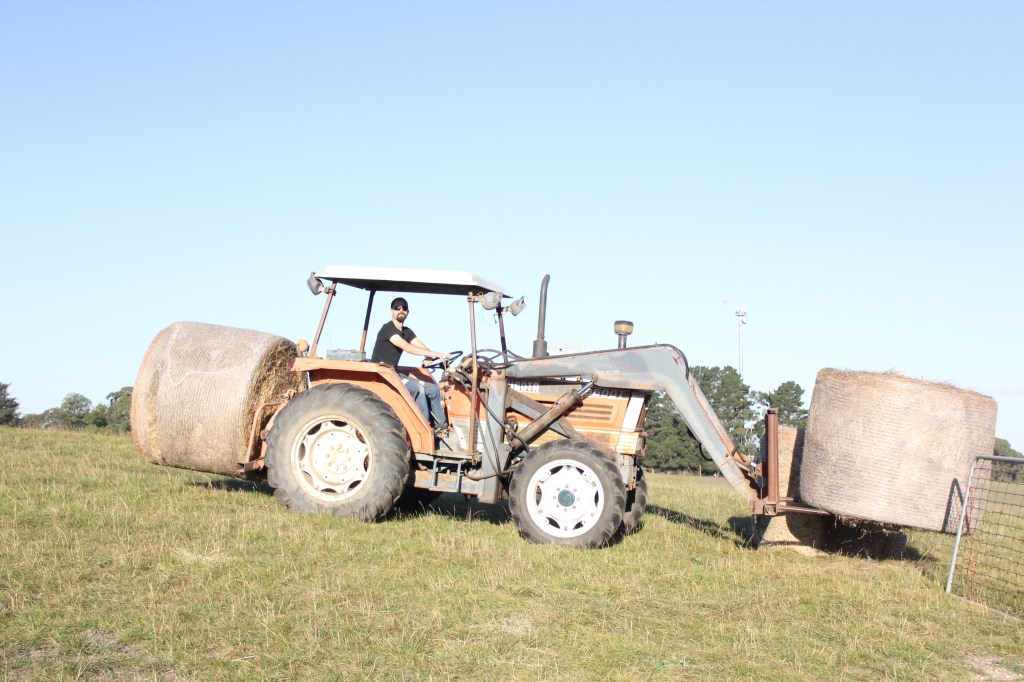
1\8000 sec, f\4, ISO 1600 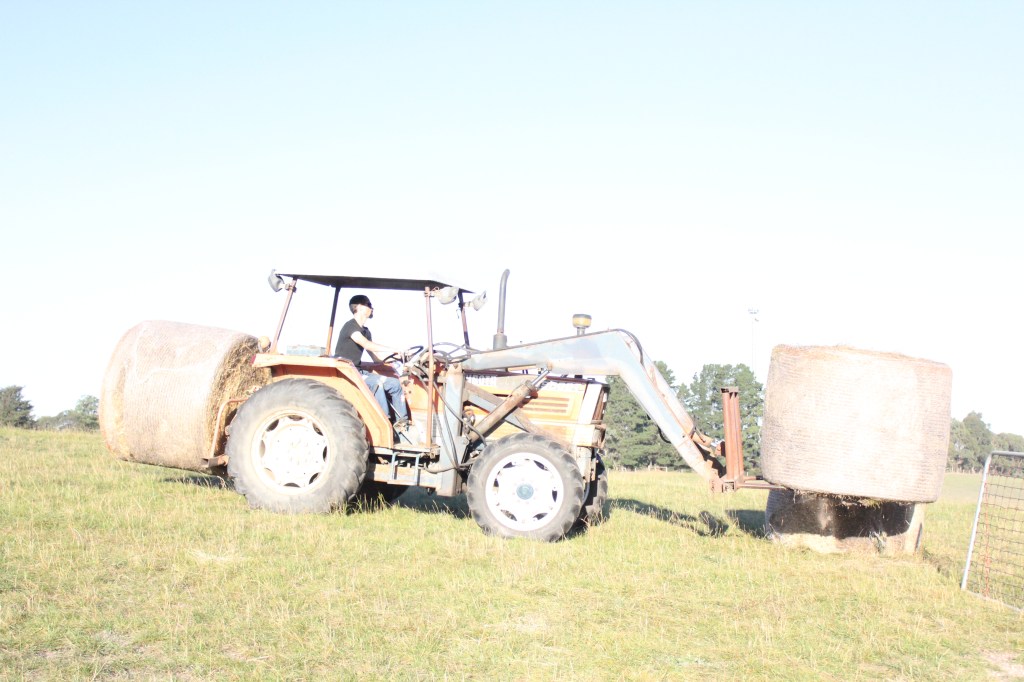
1\8000 sec, f\4, ISO 3200 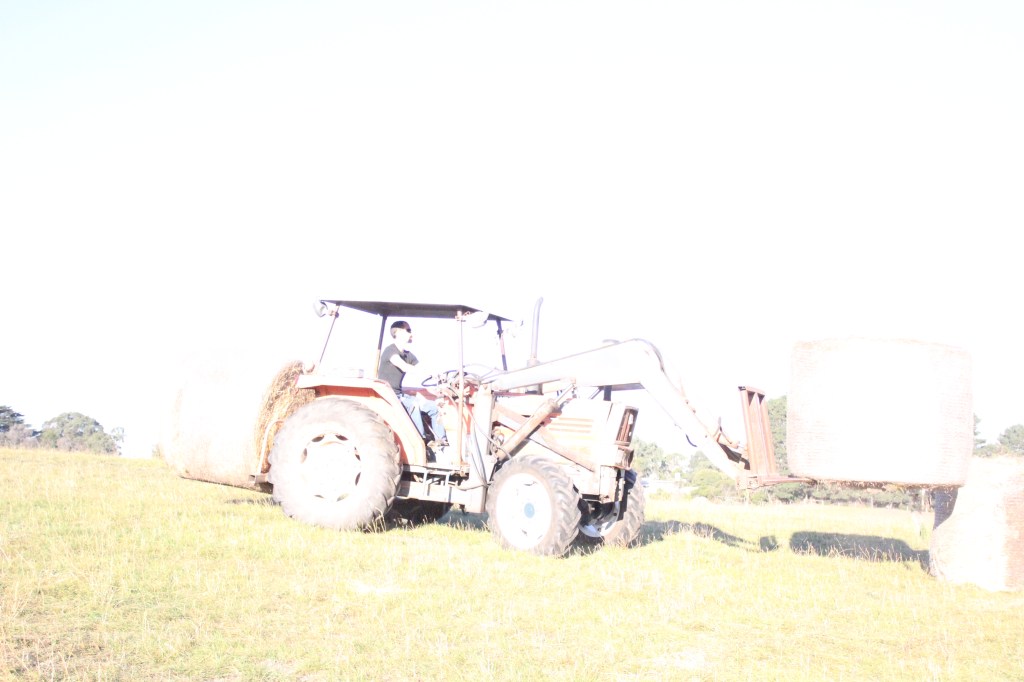
1/8000 sec. f\4, ISO 6400
My ISO ranges from 100 to 6400. In this set of images, my shutter speed has reached it’s fasted speed of 1\8000 sec at ISO 800. So in the following images, ISO 1600 and ISO 3200, they are really blown out because my shutter speed couldn’t go faster to compensate for all that light.
Shooting in Low Light
6 sec, f\5.6, ISO 100 
3 sec, f\5.6, ISO 200 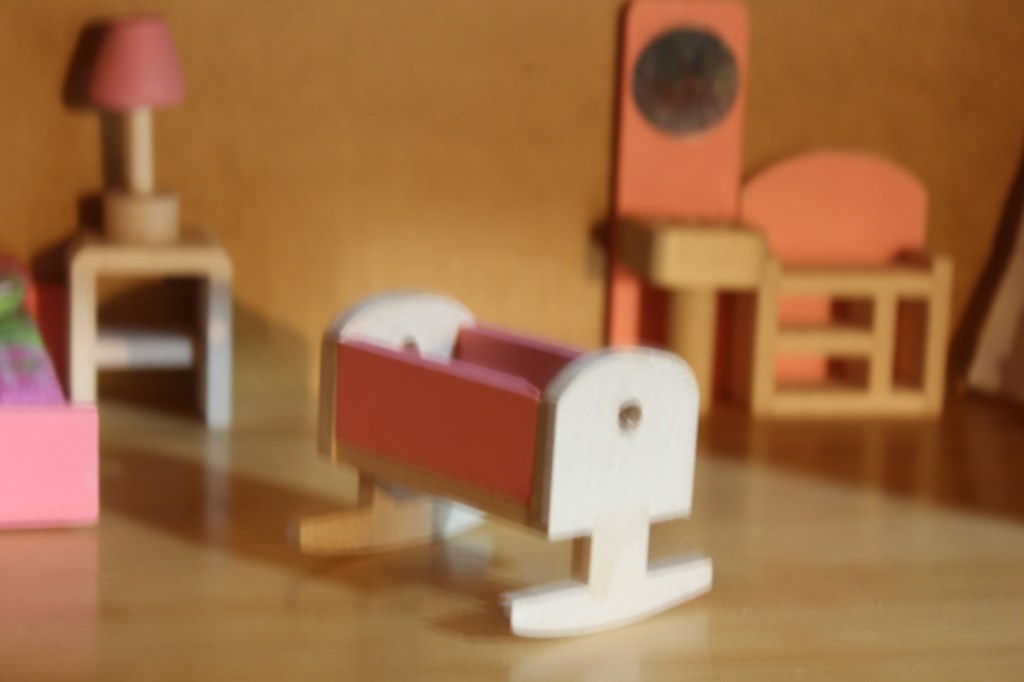
2 sec, f\5.6, ISO 400 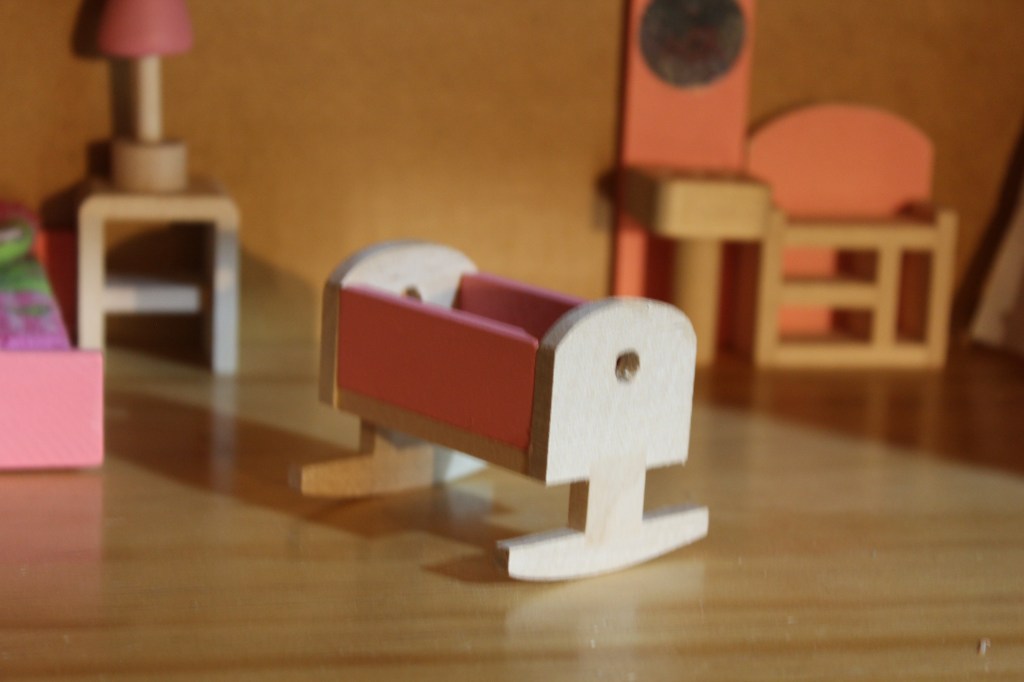
4\5 sec, f\5.6, ISO 800 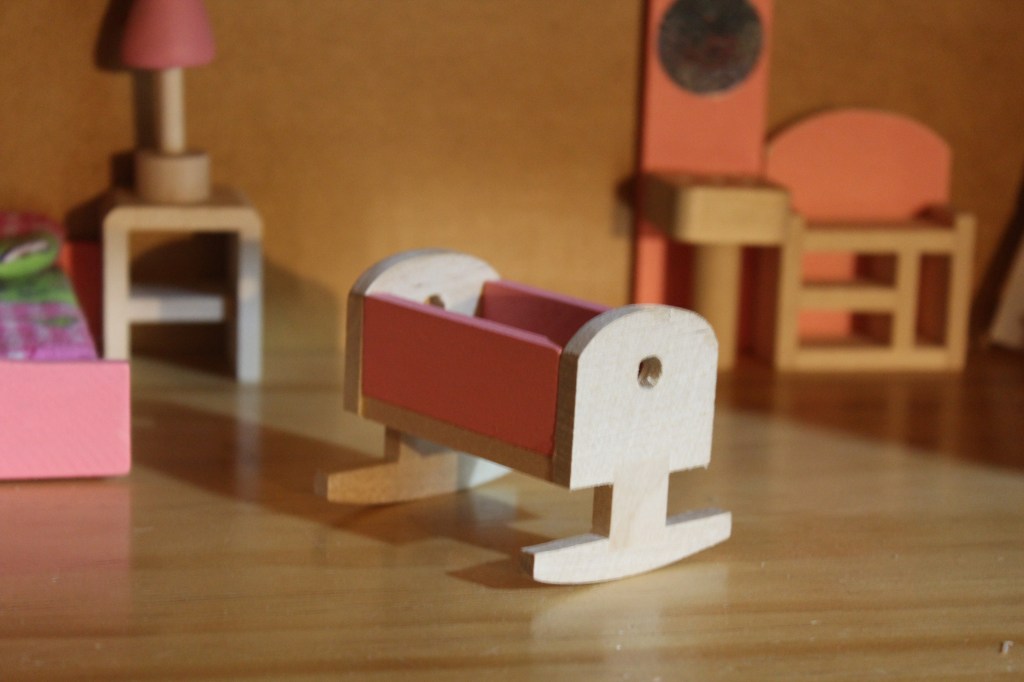
2\5 sec, f\5.6, ISO 1600 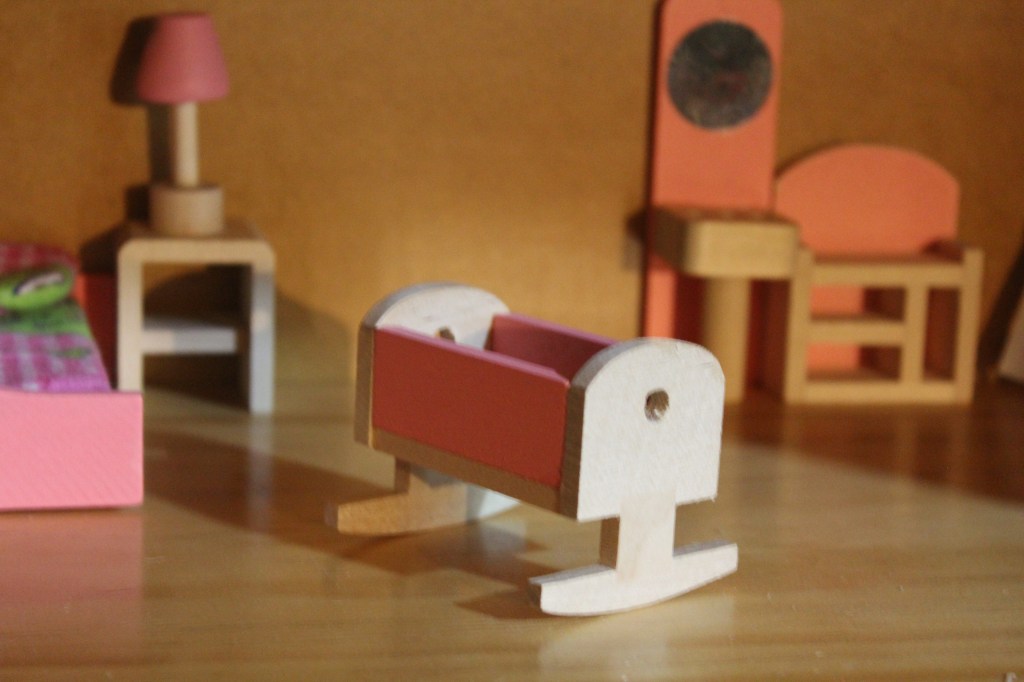
1\5 sec, f\5.6, ISO 3200 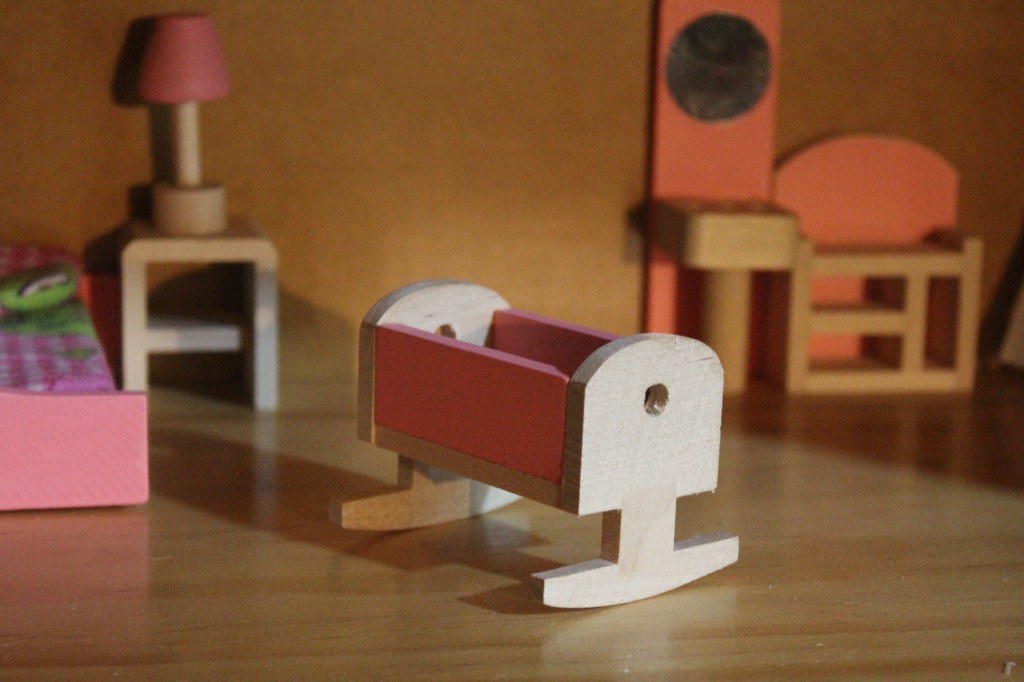
1\13 sec, f\5.6, ISO 6400
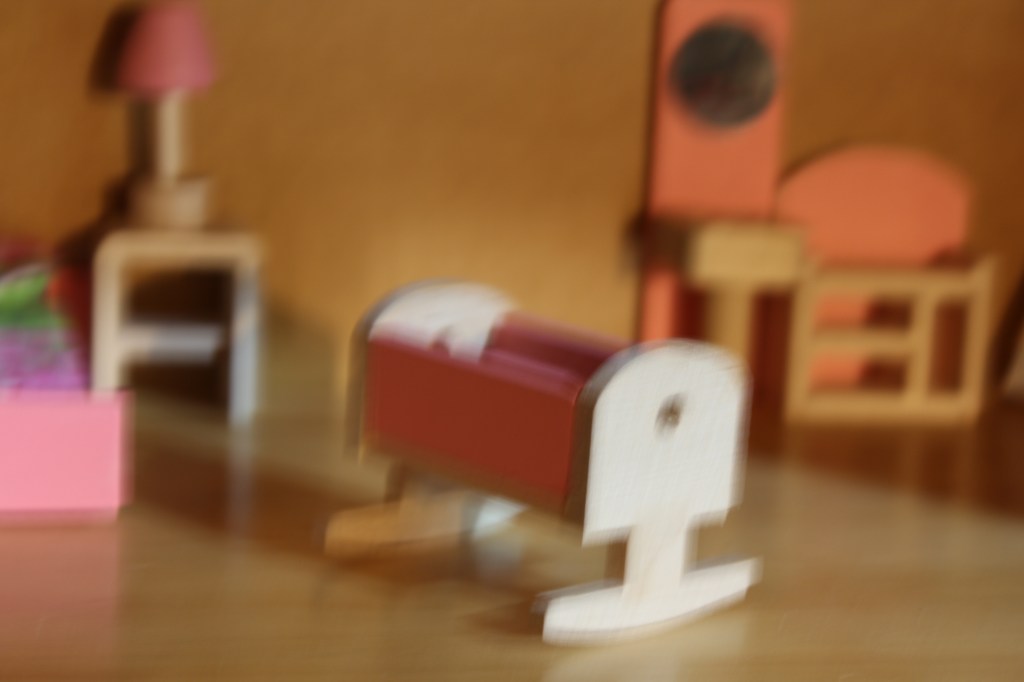
I was hand holding my camera for this set of images, so that along with a slow shutter speed means almost all of the images are blurry. The ISO 6400 is in focus, but there is a lot of noise due to the high ISO.
This next lot of images I propped my camera on a flat surface and used the 2 second timer for the shutter so I was not actually touching my camera at the time of exposure. They turned out much better.
8 sec, f\5, ISO 100 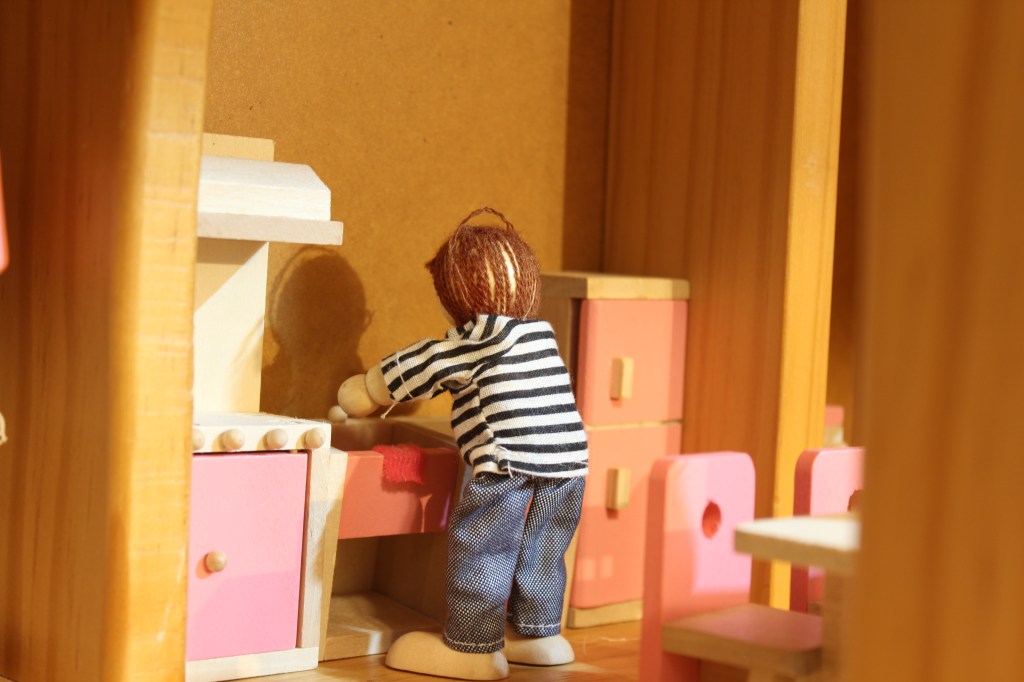
4 sec, f\5, ISO 200 
8\5 sec, f\4, ISO 400 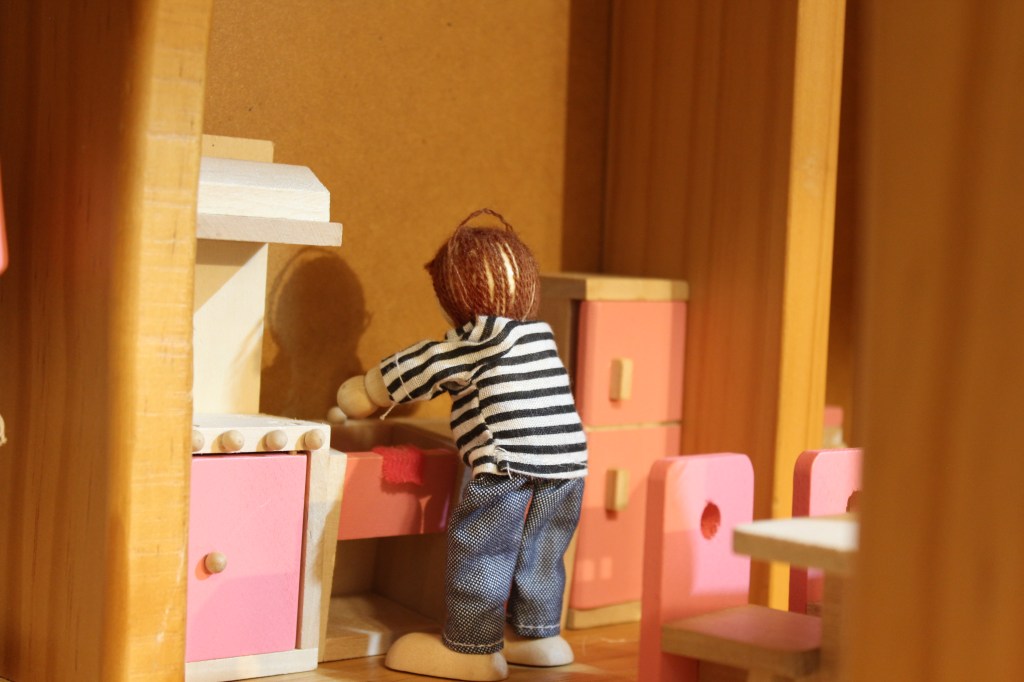
4\5 sec, f\5, ISO 800 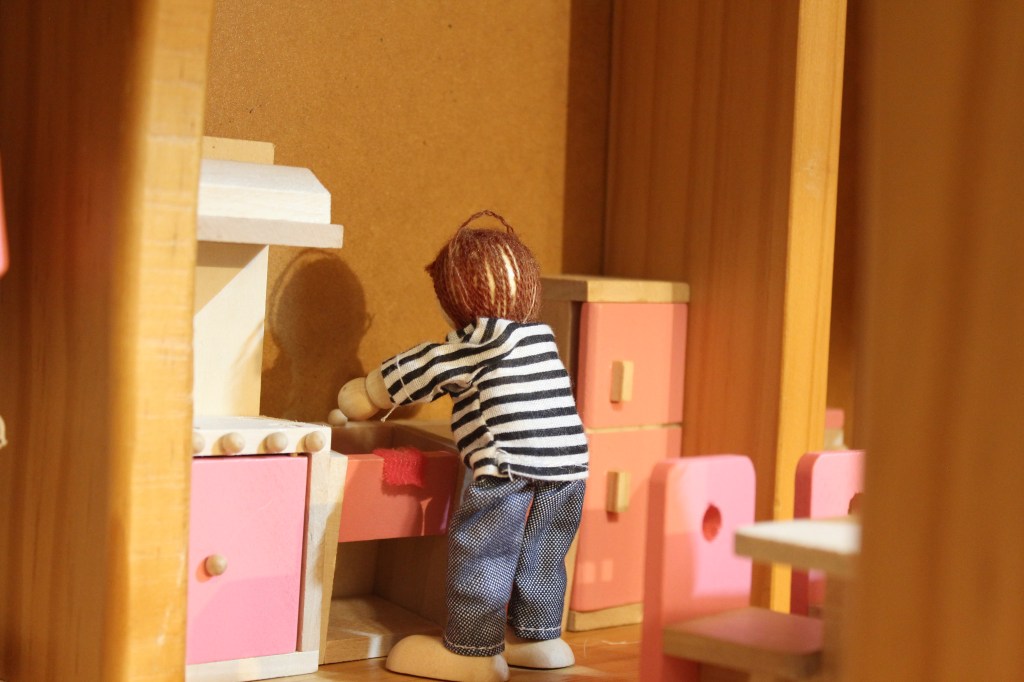
1\2 sec, f\5, ISO 1600 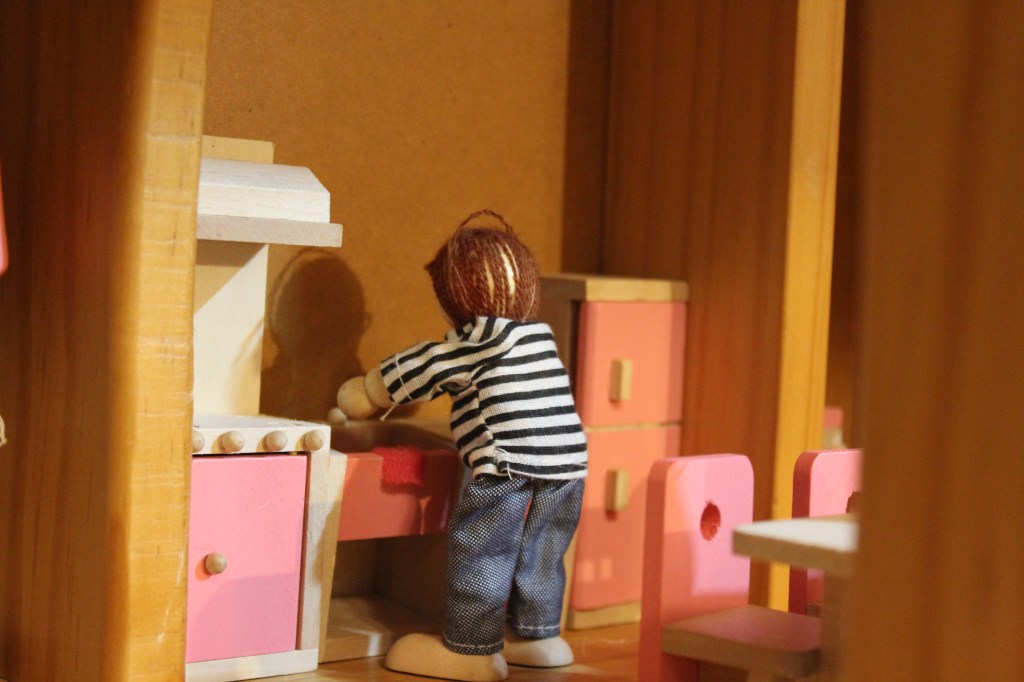
1\6 sec, f\5, ISO 3200 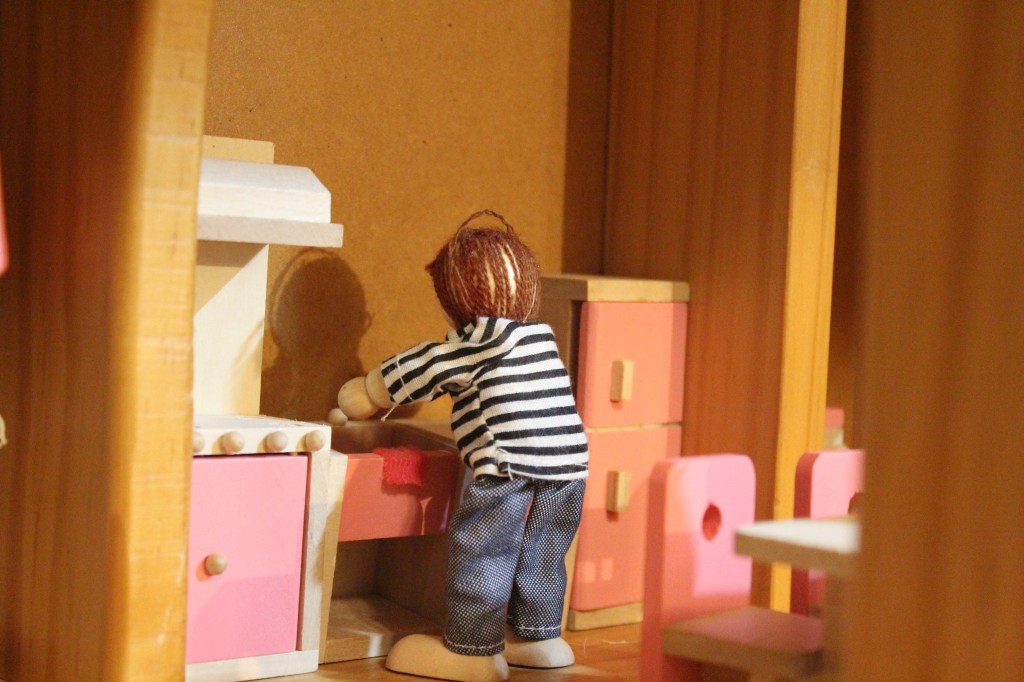
1\8 sec, f\5, ISO 6400
The Night Sky
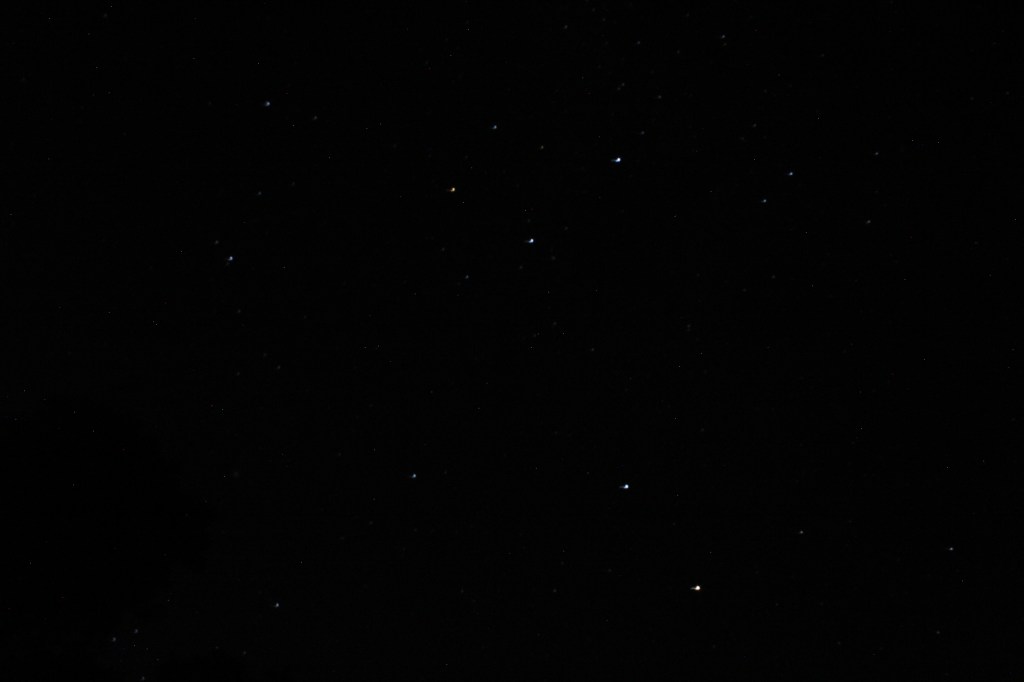
30 sec, f\16, ISO 1600 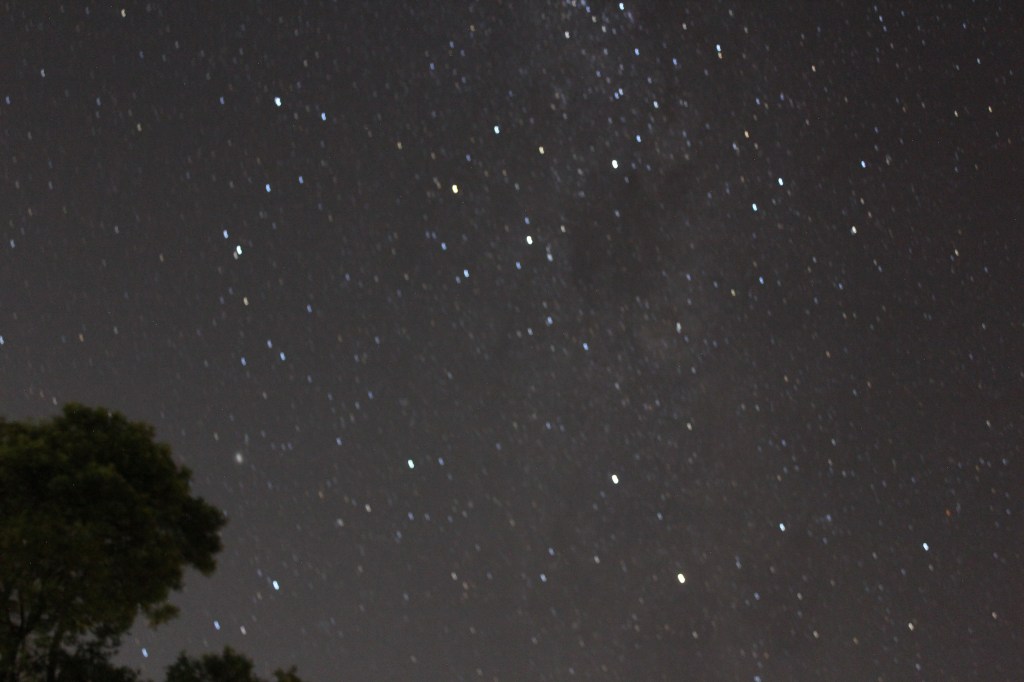
60 sec, f\4.5, ISO 1600 
60 sec, f\4.5, ISO 3200
In these images I was experimenting with shutter speed, aperture and ISO to try and capture the night sky. I have never attempted this before, and am planning to do some research about how to best achieve good results before attempting it again!
60 second shutter speed, widest aperture and ISO 1600 seemed to be pretty good settings for light, however achieving correct focus proved to be most difficult as my camera wouldn’t auto focus, and it was too dark to see to manual focus.
Camera Simulator Website
Here are some screenshots of images I captured using different combinations of Aperture, Shutter speed and ISO on the camera simulator website.
You can see the difference in depth of field (how much of the image is in focus), and movement of the propeller (controlled by shutter speed).
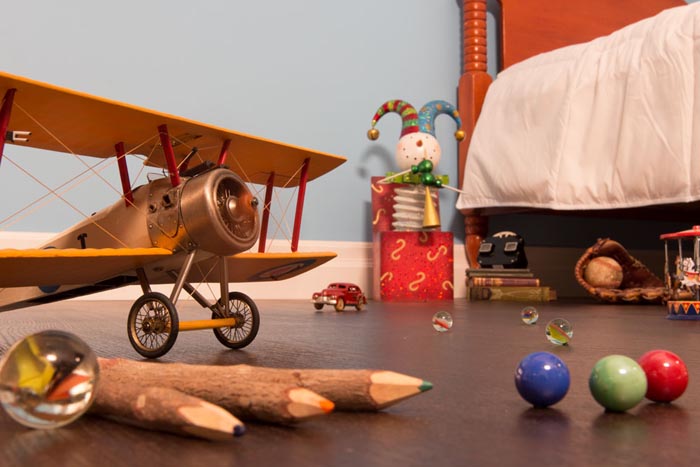
3\5 sec, f\16, ISO 100 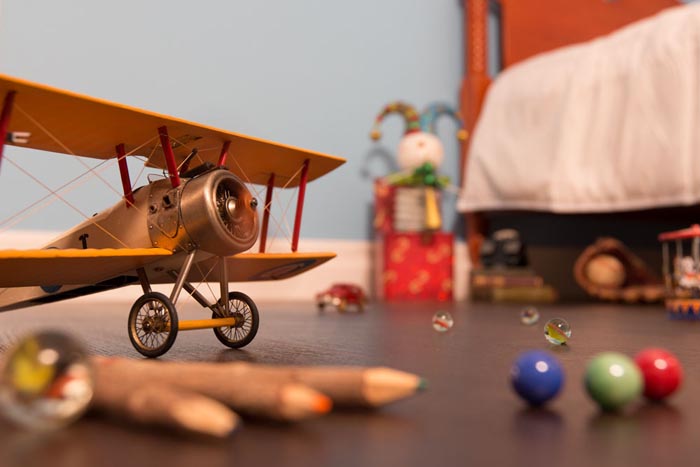
1\50 sec, f\4, ISO 200 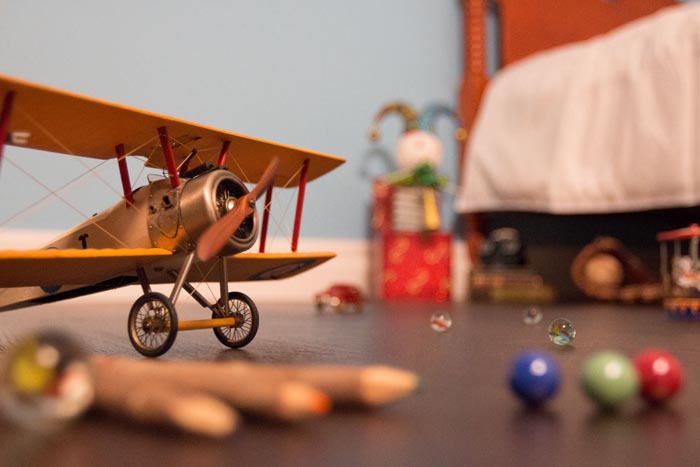
1/1600 sec, f\2.8, ISO 3200 
1/20 sec, f\22, ISO 3200 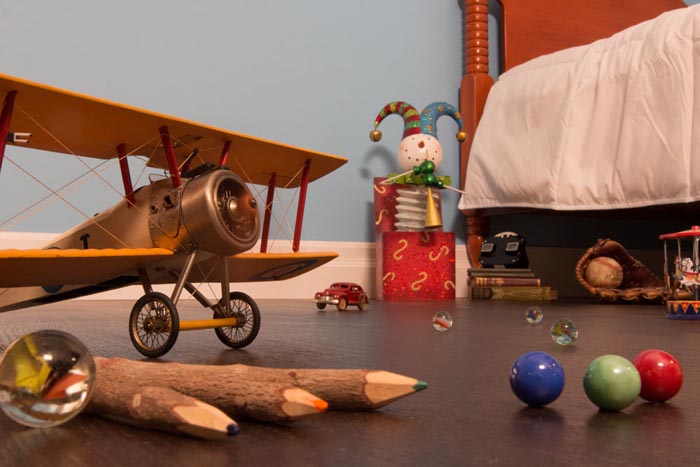
1/8 sec, f\22, ISO 800
